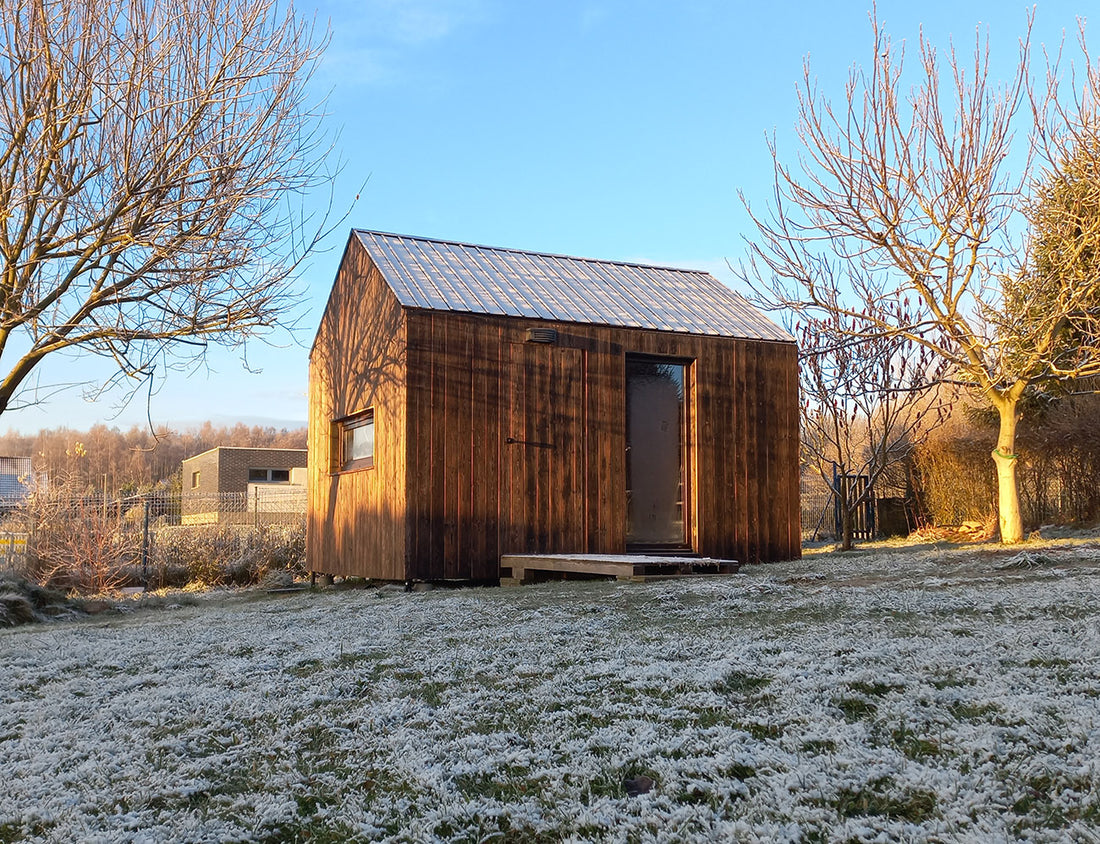
How to Build a Sauna
Constructing an external sauna is achievable for just about anyone with a bit of time and manual skills. Proper planning is essential, and understanding your requirements is crucial. A well-constructed sauna will endure for generations.
Essentially, a sauna is a small, fully functional building that should be built using proper construction techniques and the best materials. This ensures its longevity, allowing it to be passed down through the years.
A garden sauna can be an excellent idea for relaxation, rejuvenation, and rest. It can be shared with family or friends and quickly become your favorite retreat—a place to unwind. Beyond its relaxing benefits, a sauna contributes to health advantages. As Dr. Rhonda Patrick demonstrates in this video, it offers multiple health benefits, from a lower risk of dementia to reduced cholesterol and enhanced immunity. A thoughtfully designed, aesthetically pleasing sauna can be a focal point in our garden, harmonizing seamlessly with the surrounding nature.
We have built our Sauna Tuula in mid 2021, and based on our experiences, we wanted to describe how we did it , step by step. This is not a comprehensive guide, it is rather an outline that will guide you in the right direction. For specific information read our other articles.
Step 1: Cost of building a sauna
The cost of constructing a sauna varies based on its size, construction type, and equipment. Building a 4-5 person sauna with basic equipment can range from $8000 to $15000. Before commencing work, accurately estimate costs considering local building materials and labor expenses. This provides an outlook on affordability and the potential need for financing.
In the cost estimate , you should take into consideration/;
- Cost of foundation, land preparation
- Cost of framing materials
- Cost of Insulation materials
- Cost of the sauna heater
- Cost of exterior elevation materials
- Cost of control unit and electrical installation
- Cost of interior timber
- Cost of nails, steel hardware
Include a minimum 10% buffer on the final cost to account for unexpected items.
Step 2: Formalities when building a sauna
It is difficult to say what formalities should be done before building a sauna. This is because every country has different rules. Sometimes you will need a planning permit, other times you won't, but most of the time you should get away without one. As a rule of thumb, you should contact your local authority and talk with them about your plan of building a garden sauna.
Here in Poland you don't need a planning permission, but you have to inform the local authority about the construction. The building also should stand minimum 4 meters away from the edge of your land.
Step 3: Electrical connection in the sauna
If possible, a sauna should be have electrical connection. If your sauna will be heated with wood heater, a single phase connection will be sufficient.
If you plan to use an electric heater, it is best to run a three phase connection to your sauna. A three phase connection will allow you to use high power heaters efficietly. The easiest way to distinguish between a single phase and three-phase is number of wires: single phase will have 2 wires, live and neutral, three phase will have 4 wires (3 phases + 1 neutral). When laying the electrical connection in the ground, you also have to choose the right wire thickness. Larger distance and higher power heaters require thicker cables. It is best to talk to a qualified electrician, because if we get it wrong we risk burning down the sauna or electrical shock.
Step 4: Connecting water mains
If your sauna will feature a shower ( internal or external), it is good idea to run a water connection at this stage. Make sure to run the connection below the frost depth. This will prevent your new line from freezing over in winter and thus destroying it. Frost depth varies by location, it ranges from 0 to 2.4m (0 to 8 feet).
Step 5: Sauna Foundation
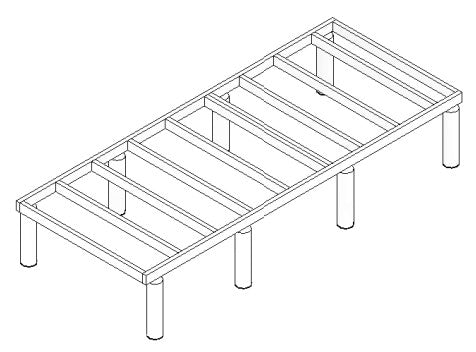
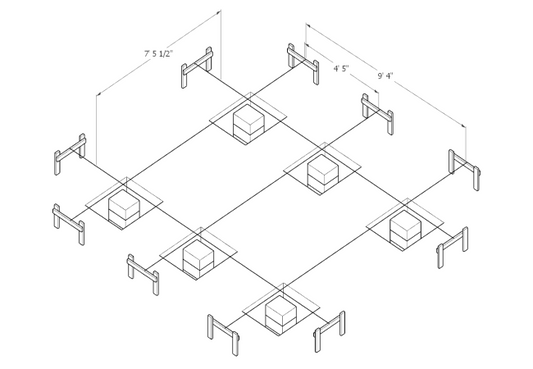
Saun foundation can be done in coupe of ways. The most common type of foundation that suits most soil condition is concrete pier foundation. This type of foundation can be prefabricated, or poured on site. For our Sauna Tuula project, we went with prefabricated concrete piers from Betosystem. You can read more about the foundation in our article: Sauna Foundation.
Step 6: Sauna Timber Frame
Construction of sauna timber frame is definitely the most pleasant step. The outline of the sauna shows up in couple of days. The timber used should be dry, with moisture content no more than 18%. The best timber is and engineered timber, in Europe we use the term 'C24' to mark this type of timber. It means that the timber has been dried, and is of a decent quality. If we use sawn timber, we should plane it from every side. This will make it more flame resistant, better to work with and more resistant to rot. It is a good idea to treat the timber with an impregnating agent.

Step 7: Sauna Walls
The Sauna walls should be insulated with minimum 100mm (4in) of mineral wool insulation, such as RockWool. From the outside, we should install a roof membrane ( moisture permeable) and from the inside, we should use moisture resistant membrane. For the interior membrane there are excellent aluminum - paper based ones. They do not have any plastic that would melt in higher temperature, and additionally the aluminum layer reflects the heat back inside.
For details about high of the walls, have a look at this article.

Step 8: Sauna Floor
The sauna floor can be made out of timber floor planks, or can be poured with concrete and tiled. You can read more in our article.
Step 9: Sauna Exterior Elevation
The exterior sauna elevation can be done in many ways, depending on what we like and what matches the local architecture. If our sauna is made with timber frame, the best option to go with is standing seam sheet metal or a ventilated timber facade. With the timber clad facade you should remember about leaving ventilation at the top and bottom of the wall, so that air can pass easily.
Step 10: Sauna Interior
Inside of the sauna, the walls should be lined with Aluminum - paper based vapour barrier. On top of the vapour barrier, you should place 10mm spacer made from timber. For this you can use a thin and long plank nailed to the framing. The spacer will allow the interior timber to 'breathe' from both sides. After that, you can nail the tongue and groove interior planks, usually 14mm thick. Try and choose planks that do not have much resin in them. Resin when heated becomes liquid. You definitely do not want it to drip on you, when you finish building your sauna.
Step 11: Sauna Benches
For the benches, we have a choice of either two or three levels. See our article explaining the difference. Sauna beches should be made from light timber, that is free from resin and that does not heat up that quickly. Most often, the sauna benches are made with Abachi or Alder. The nails used to make the benches should be nailed in from behind, so that they do not go through the planks. Remember, anything metal in the sauna heats up a lot! To keep the sauna benches clean, always use towels when sitting or laying on the benches.

Step 12: Sauna Ventilation
Proper Sauna Ventilation is crucial to a good sauna experience. There are many myths around sauna ventilation. The ventilation in the sauna should be designed taking into account the volume of the sauna and it's shape as well as type of the stove. We wrote an extensive article on this topic, so have a look.
Step 13: Sauna heater installation
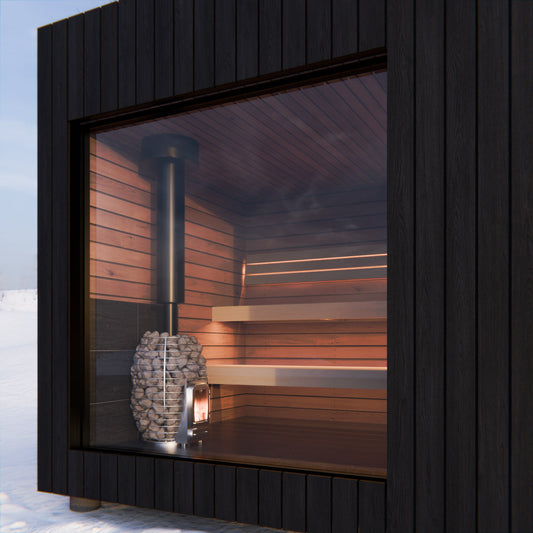
The sauna heaters start from around $300. If you have connected a three phase power connection, that's great, you will have plenty of heaters to chose from. Remember to add additional framing in the wall where the heater will be hung. If you decide to go with wood heater, remember about properly routing the chimney. It is very easy to cause a fire if the chimney is placed close to any timber elements of the sauna.
Step 14: Sauna door installation
The most popular sauna doors are made with tempered glass, 8mm in thickness. Prices start from around $500. The doors can be 60cm (2 feet) wide. If you are building a public sauna, go with 80 - 90 cm (3 feet) width.
Step 15: Sauna Accessories
Before your first sauna session, have a look for a timber bucket (cedar is great for this) and a timber ladle for pouring water on the rocks. You can also get a thermometer and a sauna hygrometer.
If you need even more information about building a sauna, check out our DIY outdoor sauna plans. We have described everything in a great detail with construction plans and bills of materials.


2 comments
Dzień dobry,
posiadamy jedynie projekty saun, bez altan.
Pozdrawiam
Dzień dobry,
Czy posiadacie gotowe projekty sauny i altany ogrodowej ?
Proszę o informację.
Pozdrawiam