9 Things We would Do Differently if We Were Building a Sauna Again
There is no better way to learn than by doing. We’ve built Sauna Tuula now three years ago, and there are a couple of things that we would do differently today.
1. The floor slab should be poured in one go. Ideally, the concrete mixture should be from one batch. This way, the slab will have a uniform color, and it will be much easier to achieve a nice and smooth surface.

3. Check your internal timber before installing it in place. Sort it into nice and straight planks and the slightly worse ones. If there are any loose knots, take them out (they will fall out anyway when wood shrinks) and replace them with a dowel.
4. Check the tongue and groove boards for level every couple of boards. Use tongue and Grove boards that are 4'' at most. They will buckle less when they dry out.

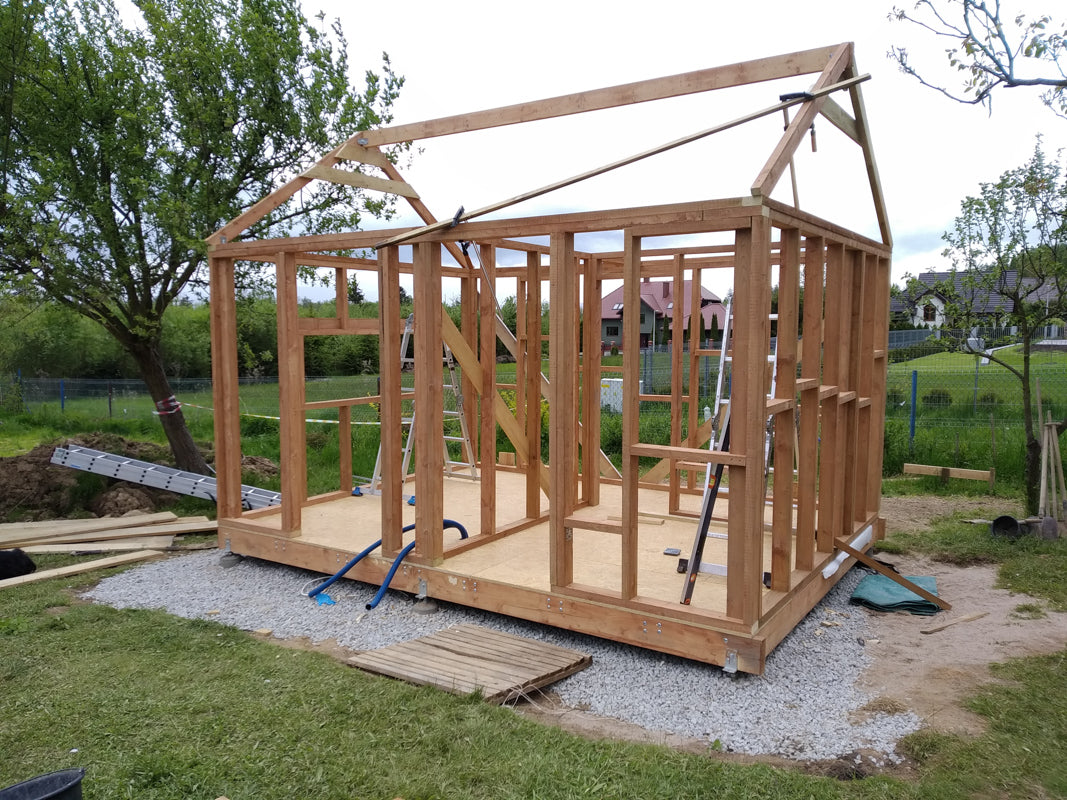
5. Use metal rafter hanger where it makes sense. They are good for not only rafters: also, the bench framing could be done using the rafter hangers…
6. Any deviations from the design should be documented. Take both photos and sketches with dimensions.
7. Instead of timber boards for roofing, use metal roofing, such as standing seam metal roofing. Wood is just not durable enough and when exposed to sun and heat, it will buckle, creating an uneven surface. The metal roofing is essentially maintenance free.

8. If you install a charred wood facade (Shou Sugi Ban), make sure the wood is well burned on the surface. The amount of charring will determine how long the surface will remain black. Spend some extra time with the gas torch or use the traditional Japanese technique.

In essence, our journey with Sauna Tuula has not only resulted in the creation of a cherished space but has also provided invaluable lessons in construction methodology and best practices. Through these insights, we are better able to understand the needs of a decent and durable sauna, and we could apply those lessons to all our sauna models.


2 comments
Hey Muskoka! Love your saunas. Metal roofing is rated for 30-50 years. We had to replace our timber roof after just 2.5 years, because the boards were warped. Some of the knots also popped out and could cause premature vapor permeable barrier wear.
Thank you for sharing your experiences and lessons learned from building Sauna Tuula! Your insights are invaluable for anyone considering a similar project. We at The Muskoka Sauna Co. are particularly interested in your point about using metal roofing instead of timber boards. Could you elaborate on why metal roofing is more suitable for sauna construction, especially in terms of durability and maintenance? We appreciate your expertise and look forward to learning more from your experience!