How to build a Sauna Floor
In previous article, we explored how to build a sauna foundation for an external sauna. In this article, we will focus on how to go from foundation to floor.
Sauna floor should be durable, waterproof and warm.
Durable, because we like to stand on a firm ground. Floor made with plywood that is too thin, insulated with Styrofoam and on beams which are spaced too far apart, is a recipe for a disaster. Such floor will last a couple of months of use after which it will start to deform.
Waterproof, because in a sauna it is not uncommon to spill water on the floor. When we pour water on top of the heater stones, it may happen that not all of the water will evaporate and some of it will drip on the floor. In such case, the floor should be waterproof not to let water through. This is of course only in saunas inside of a building.
Warm, because it is one of the elements that keep the heat in. In a typical garden sauna, the floor is responsible for about 10% of heat loss. In the long term a good insulation pays off, especially if we use an electric heater.
To answer the basic question : “How to build a sauna floor?” we have prepared two answers that address it, one for internal sauna and one for external garden sauna.
Sauna Floor in Internal Sauna
If the sauna is inside of a basement or adjacent to a bathroom, the choice of floor type is simple. Best solution is to use ceramic tiles. There are thousands of shapes, colours and type to choose from. They are extremely durable and waterproof. The floor on which we put the tiles on should be insulated, preferably with XPS insulation.
Below is an example of sauna floor layers in a building:
- Ceramic tiles
- Elastic tile adhesive
- Waterproof layer
- Concrete floor.
- XPS insulation
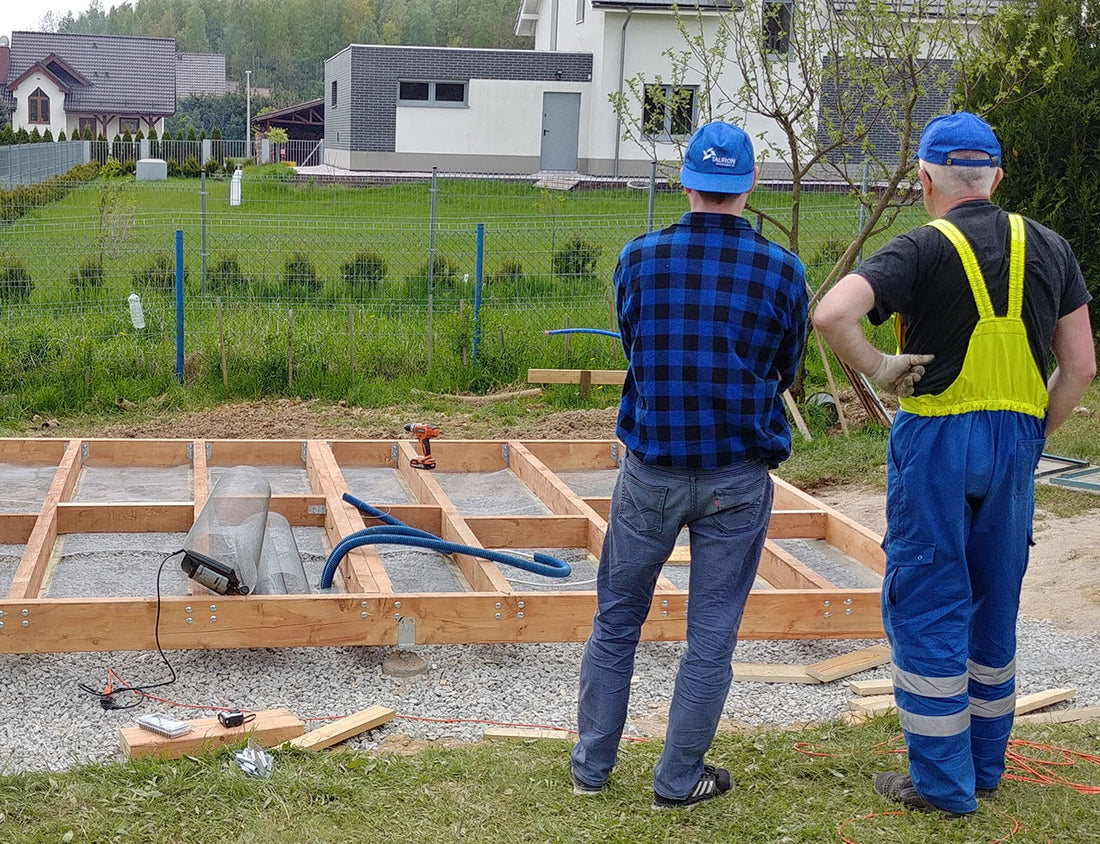
Floor in an external sauna
In the previous article, we left off with floor structure in place. Now to convert it to a finished floor we need to add several layers to ensure that it is waterproof and warm.
Wire mesh

Wire mesh is essential to keep rodents away from your floor. Mice and rats love to make nests in nice and cosy mineral wool insulation. I wouldn't blame them, its a perfect spot, also - free heating!
Begin by cutting sections that are the width of the floor rafter spacing and add about 2" or 50mm on each side for installation. Wire mesh is best cut by electric sheet metal scissors. Attach the wire mesh to the rafters by a staple gun.
Vapor permeable membrane.

Vapor permeable membrane stops air from penetrating into your insulation. It also allows for any vapor to pass through and leave the mineral wool in case it gets damp. make sure to use continuous long pieces from a roll. Lay it down inside and around all floor rafters
Mineral wool insulation

Next, pack the inside of the floor with mineral wool. To read why we recommend this material for insulating your sauna floor, have a look at this article.
Vapor membrane
Vapour membrane can be used, but it is not 100% necessary as the next layer also provides a degree of vapor resistance. Vapour membrane usually comes as a plastic roll material, that can be laid down on top of our floor structure and then stapled on.
OSB Subfloor

OSB acts as a structural floor and it can be nailed or screwed onto the structure below. It is a good idea to add felt or cork underlayment to prevent floor cracking.
Finished floor
Finished floor can be natural wood flooring or concrete slab. Make sure to use proper underlayment for the floor type. For example for the wooden flooring, use cork underlayment to prevent cracking floor.
The thickness of the concrete slab can be from 10mm to 40mm (1/4in to 1in). For the floor to be waterproof, you have to seal the concrete with a floor epoxy. It is simply painted on with a paint roller.

TL;DR Below is an example of external sauna floor layers:
- Waterproof epoxy floor paint
- Thin concrete slab
- Waterproofing layer
- OSB board
- Thermal insulation in floor joists.
- Vapour permeable membrane
- Wire mesh, against rodents, stainless steel 5mm.
Do you have a different way in which you build your sauna floor? Let us know in the comments below.


4 comments
This was so helpful, thank you! I loved the visuals as well.
Why would you not pour a concrete slab. you can insulate the bottom and sides and the pour a 4-6 inch slab. this will stop cold from coming up from the ground. Also on the sides you insulate and back fill. Your walls are framed right on the slab with a gasket. Maybe use cedar or doulas fir as you rim board to avoids rotting over the years
@Parker Mc I am not a big fan of this method. Assuming you mean there is nothing underneath the floorboards, the gaps between them will allow gusts of wind to randomly come in and make our feet colder. I like to carefully control the building envelope and deal properly with insulation, waterproofing, windproofing.
What do you think about the gapped floor boards method?